Tuesday, August 29, 2006

COURSE STATEMENT

The certification course in Neuro-Developmental Treatment is one of the longest post-graduate courses currently offered to profession­als in the fields of physical therapy, occupational therapy, and speech pathology. It is an intensive training course comprising both theoretical and practical constructs developed by Dr. and Mrs. Karel Bobath, and conforms to the standards established by the North American NDTA, Inc.

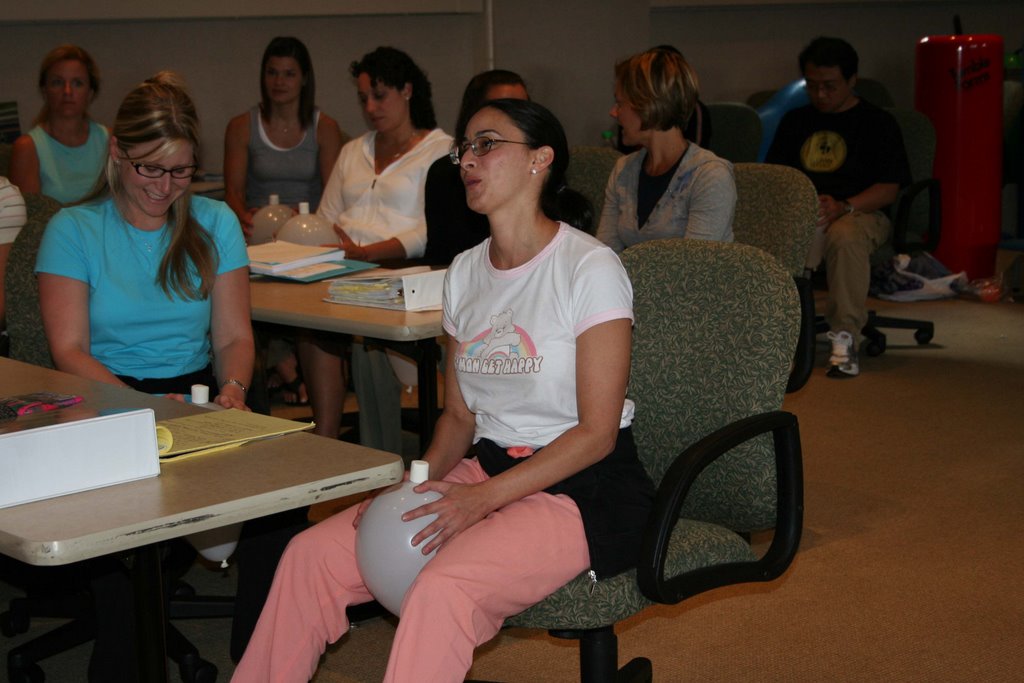
The Eight Week Basic NDT-Bobath Course currently being held in Meadowbrook, PA is taught by a team of professionals. A certified NDTA Coordinator-Instructor, Lois Bly is the primary instructor of this course . She is assisted by other NDTA certified instructors including Therese McDermott, Gail Ritchie and Kathleen Ganley. In addition, NDT certified instructor candidtates Colleen Carey and MaryRose Franjoine, as well as NDT certified therapists Mina Bapat, Emily Hull, and Lisa Glasneer are helping with lab, practicums and special lectures.

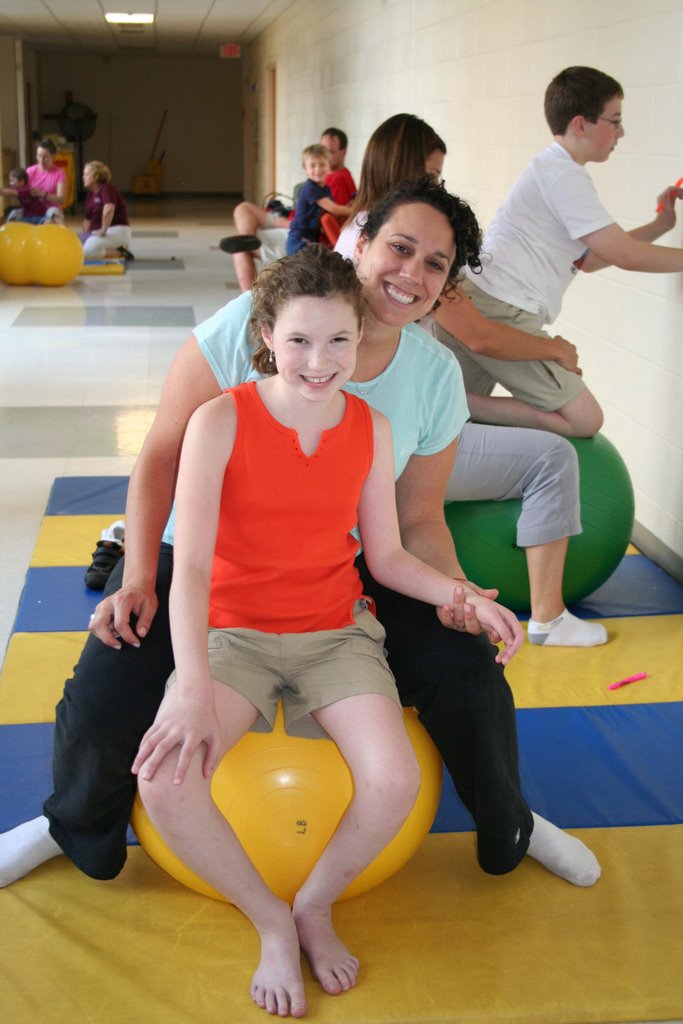
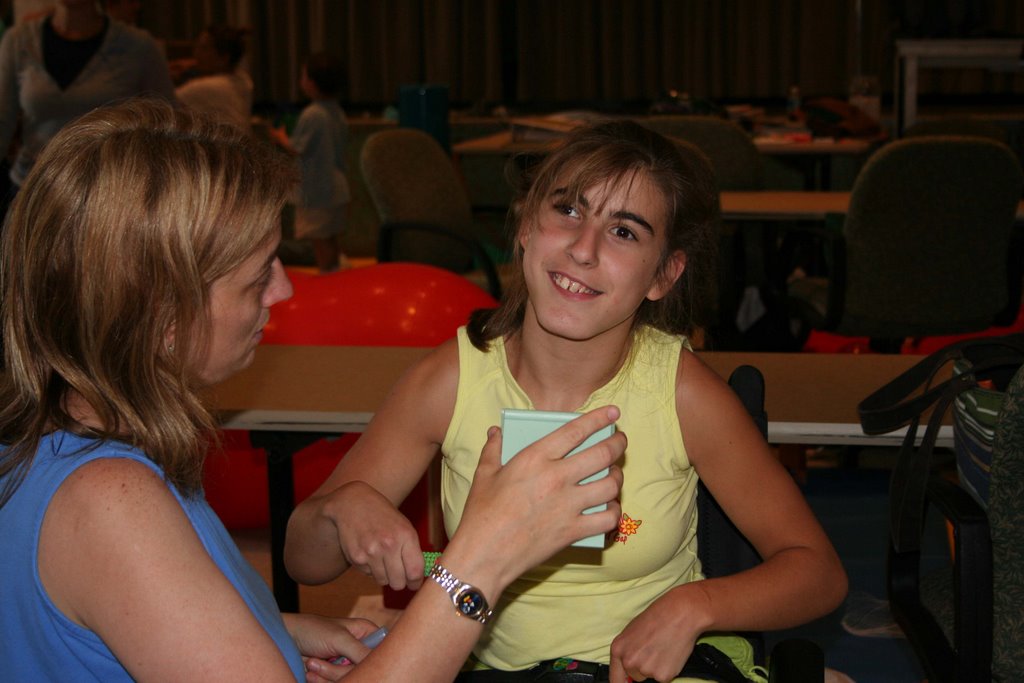
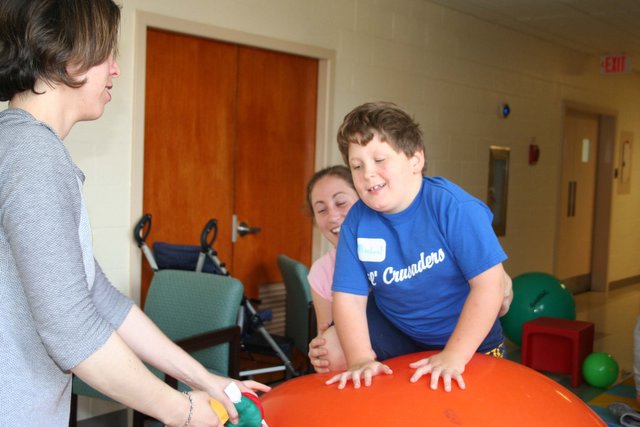
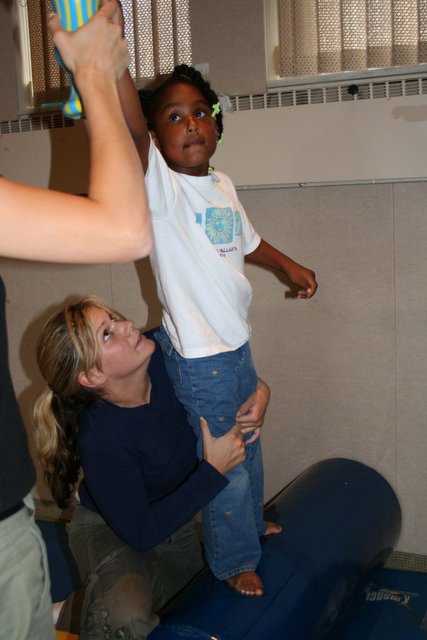
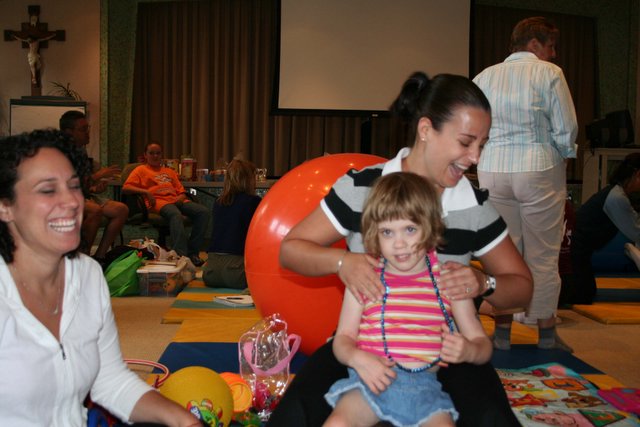
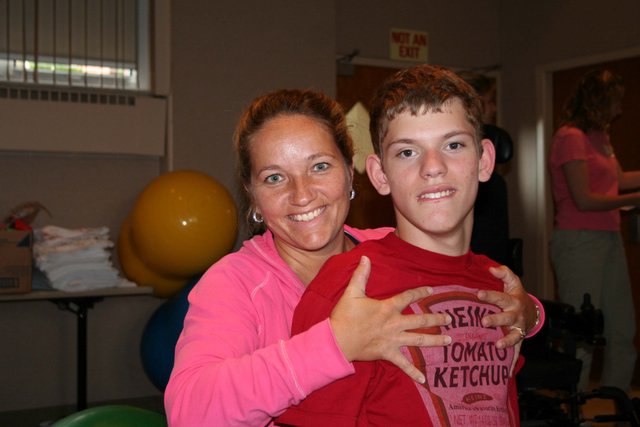
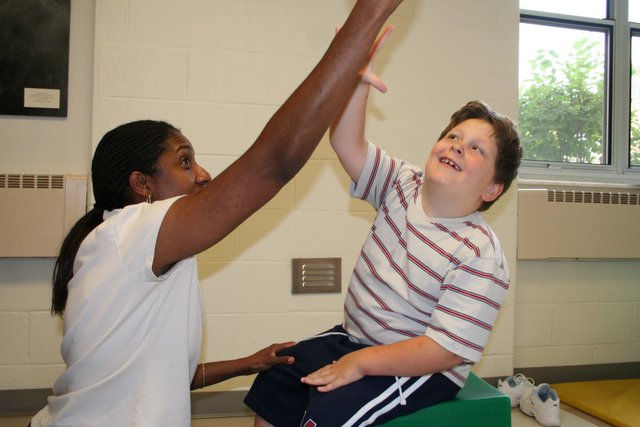
Speech therapists, physical therapists and occupational therapists from all areas of the country are here including therapists from Canada, Bermuda, California, New York, and Florida. These therapists represent therapist committed to enhancing their skills as therapists as they learn techniques and interventions for children with Cerebral Palsy .

Lab photos


Practicum photos by Lois I


Posted by Picasa

Practicum photos by Lois II


Posted by Picasa

Practicum photos by Lois III


Posted by Picasa

Practicum Photos by Lois IV


Monday, August 28, 2006

How to email your photos' assignment to Colleen?

E-mailing photos

Attachment basics
When you send photos in e-mail, the photos go along for the ride as attachments, just like any other file you add to an e-mail.

To attach a photo in Outlook:
- Click New to open a Message window.
Fill in the To and Subject boxes as usual and type any message you wish to accompany the photos.

- Click Insert File (the paperclip icon), locate your file through the Insert File box, click the file's name and then click the Insert button. If you wish to add multiple files from within the same folder, hold down the Ctrl key while clicking multiple files, then click the Insert button.

-Repeat Step 3 for any other files you wish to attach.
Click Send.

Mailbox size limits
Most Internet Service Providers (ISPs) set a limit on each customer's mailbox. Many set a per-message limit as well as a total limit on the mailbox's contents. My ISP, for example, limits my mailbox to 10 megabytes and any piece of individual e-mail to 5M. Check with your ISP for the limits on your mailbox, but remember that your recipients' restrictions may differ.
If you send someone an e-mail which exceeds their mailbox restrictions (or yours – the restrictions apply to outgoing e-mail as well) the e-mail will be bounced. That is, you'll get a message from the ISP saying the e-mail was too large to deliver and the recipient won't get a copy. The really frustrating thing about bounced mail is that you waste time uploading the e-mail and it's not until you've completed the process your ISP will inform you it failed to work. So, limit the size of your photo attachments: Use low-resolution photos; use compressed formats; zip photos to reduce their size; or limit yourself to one attachment per e-mail (and make sure that attachment is not too large). Unless I know my recipient can accommodate larger files, I usually limit attachments to under 2M per e-mail.

Formats
You may be able to view images in JPG, TIF, PCD, BMP and other formats, but don't assume your recipients can.
When sending photos, use JPG format unless you have an agreement with the recipient to use a different format. JPG is almost universally supported (even by Mac and Linux users).

Friday, August 25, 2006

Finalize your DVD-R video assignment!!

Why do I have to finalize a DVD-R disc? How can I play back without finalizing? Can I further record on a finalized disc?

Much like "closing" a recordable CD, you must finalize a Video mode DVD-R/RW disc in order to be able to play it on a regular DVD player or computer DVD drive. This writes all the necessary control information to the disc, and adds a main menu. Once a disc is finalized, you cannot edit or add more material to it. The amount of time required for finalization depends on the disc mode and the amount of recorded material. Video mode discs can take up to 20 minutes to finalize, and VR mode discs can take up to 1 hour. Once finalized, you can no longer add motion video to that particular disc. Discs that are not finalized can still be played back when inserted in the DVD-Camcorder.